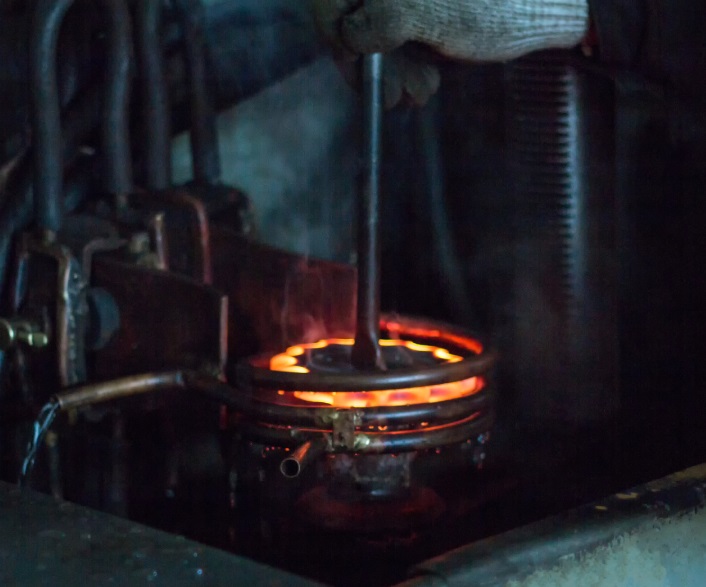
At Metals Technology Corporation (MTC), all heat treating processes are selected and designed to minimize part distortion. However, as residual stresses relax during heating, as dimensions change during metallurgical transformations, and as new quench-related residual stresses are introduced into the parts, MTC cannot prevent all dimensional movement and distortion from occurring.
The inspection of Core Hardness, Effective Case Depth, Case Penetration Below Masking, and Microstructure – whether called out on the Purchase Order, the Print, or the Specification – requires that one or more parts be destroyed to expose the sub-surface features to be measured. In the case of Induction Hardening, it is possible that two or three parts may be destroyed between process set-up and final inspection. Similarly, when an order requires tensile, impact or other third-party testing, samples of the appropriate size and shape must be provided. Whenever an order requires one of these measurements, LET IT BE KNOWN THAT ONE OR MORE PRODUCTION PARTS WILL BE DESTROYED FOR TESTING UNLESS SUITABLE REPRESENTATIVE TEST SAMPLES ARE PROVIDED. Representative test samples may be FINISHED PARTS, DAMAGED OR OTHERWISE UNSELLABLE PARTS, OR RAW MATERIAL OF THE SAME ALLOY AND PREFERABLY FROM THE SAME HEAT, HAVING THE SAME THICKNESS AS THE THICKEST PORTION OF THE PART. In the case of PPAP, as many as 30 parts may be destroyed to generate sufficient statistics. IT IS THE RESPONSIBILITY OF THE CUSTOMER TO PROVIDE A SUFFICIENT NUMBER OF PARTS OR TEST PIECES, TO ALLOW FOR THE REQUIRED NUMBER OF PARTS OR TEST PIECES TO BE DESTROYED DURING NSPECTION. TEST PIECES MUST BE CLEARLY MARKED, WIRED OR PAINTED FOR EASY IDENTIFICATION.
Straightening and Flattening require flexing of a part beyond its elastic limit (yield strength) to introduce permanent plastic deformation and residual stresses that hold the part in the desired shape. As the hardness and strength of a part approach the maximum limits for the alloy, the safety factor between the yield strength and ultimate tensile strength (UTS) diminishes to the point where the risk of cracking a part by exceeding its UTS becomes dangerously high. Therefore, METALS TECHNOLOGY WILL NOT BE HELD LIABLE for damaged parts resulting from straightening or flattening parts that are within 10 HRC of the alloy’s maximum hardness or any case hardened parts. NOR WILL MTC PAY FOR NON-DESTRUCTIVE TESTING TO DETECT CRACKING AFTER STRAGHTENING OR FLATTENING.
Austempering, as a continuous belt furnace process, occasionally involves parts escaping from the sides of the belt, getting caught in the conveyors or floating off the conveyors. Conversely, these escaped parts can be re-introduced into a subsequent order as foreign material. While we continuously strive to prevent part escapes and to detect foreign parts, MTC cannot guarantee that 100% of your parts will be returned nor that zero foreign materials will be introduced. Incoming parts for heat treatment that are coated with heavy oil or chlorinated oil must be degreased prior to Austempering to prevent staining and rusting. While all parts get water rinsed after Austempering, some part configurations prevent our removing 100% of the quench salt.